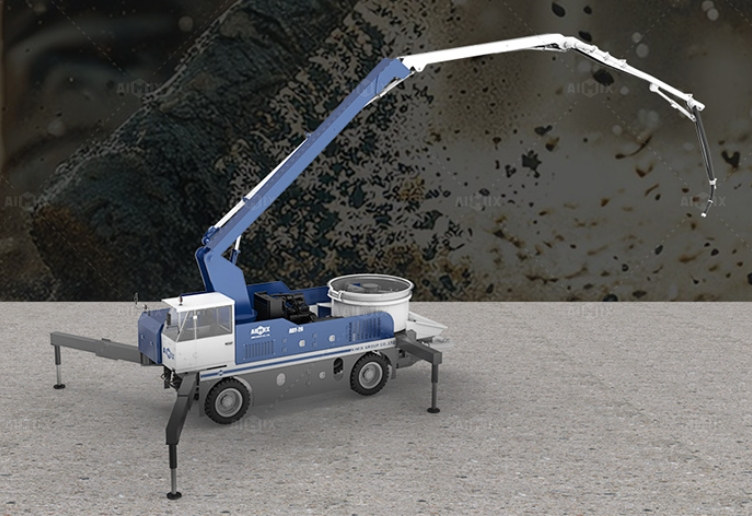
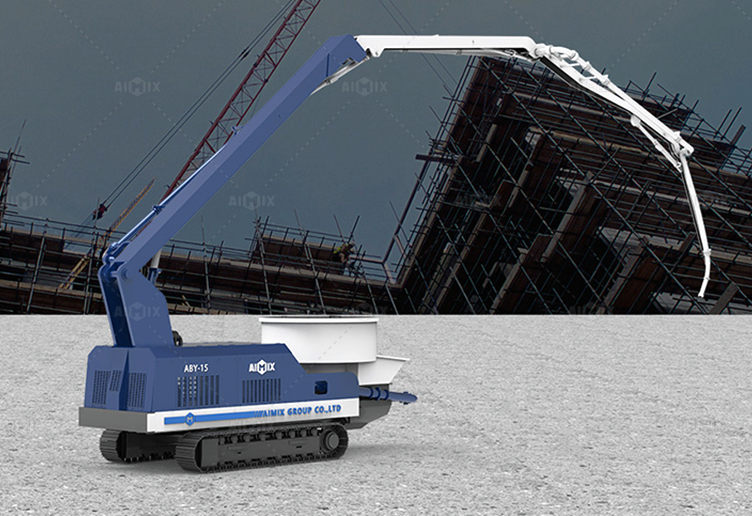
How to Switch the Pumping Tubes on a Mobile Concrete Pump
A mobile concrete pump is an essential piece of equipment in modern construction, allowing for efficient and flexible transportation of concrete to various locations on a job site. However, to ensure smooth operation, it is crucial to properly switch the pumping tubes when needed. Whether replacing worn-out tubes, adapting to a different pumping configuration, or troubleshooting blockages, understanding the correct procedures for switching the pumping tubes is essential for maintaining efficiency and safety.

This guide will explain why and when you need to switch pumping tubes, provide step-by-step instructions, and highlight key safety and maintenance considerations.
Why and When to Switch Pumping Tubes
Switching the pumping tubes on a mobile concrete pump may be necessary in several situations:
1. Tube Wear and Tear
Over time, pumping tubes experience wear due to constant exposure to high-pressure concrete flow. Cracks, leaks, or reduced durability signal the need for replacement.
2. Blockage Issues
If a blockage occurs and cannot be cleared using conventional flushing methods, replacing the tube might be the best solution.
3. Changing the Pumping Configuration
Different construction sites require varying hose lengths and configurations. Switching tubes allows for more efficient concrete placement.
4. Upgrading to a Better Tube Material
If the existing tubes are not suitable for the type of concrete mix or site conditions, upgrading to a more durable or flexible material is recommended.
Tools and Materials Needed
Before starting the tube-switching process, gather the necessary tools and materials:
Replacement pumping tubes (correct size and material)
Wrenches and spanners (for loosening and tightening connections)
Lubricant (for smooth tube installation)
Clamps and gaskets (for securing connections)
Cleaning tools (for clearing residual concrete from old tubes)
Safety gear (gloves, safety glasses, and protective clothing)
Step-by-Step Guide to Switching Pumping Tubes
1. Prepare for the Tube Replacement
Before removing any tubes, follow these preparatory steps:
Turn Off the Mobile Concrete Pump: Shut down the engine and disconnect the power supply to avoid accidental activation.
Release Hydraulic Pressure: If your mobile concrete pump uses a hydraulic system, release pressure to ensure safe tube removal.
Flush the Tubes: Pump water or air through the system to remove remaining concrete and prevent blockages during replacement.
2. Remove the Old Pumping Tube
Loosen the Clamps: Use wrenches to loosen the hose clamps securing the tube to the pump and boom.
Detach the Tube Carefully: Gently remove the tube to prevent damaging the connecting parts. If the tube is stuck, apply lubricant or tap lightly with a rubber mallet.
Inspect the Old Tube: Check for signs of excessive wear, internal buildup, or structural damage. If the tube was clogged, identify the cause before installing a new one.
3. Install the New Pumping Tube
Position the New Tube: Align the new tube with the pump outlet and boom or distribution pipeline.
Apply Lubrication: Coat the tube's connecting ends with lubricant to ensure a tight fit.
Secure with Clamps and Gaskets: Tighten the clamps and check for proper gasket placement to prevent leaks.
4. Test the System Before Resuming Operation
Conduct a Leak Test: Before resuming full operation, pump water through the system to check for leaks at the connection points.
Check Alignment: Ensure the tube is properly aligned with the pump outlet and distribution system.
Run a Low-Pressure Concrete Test: Begin pumping concrete at low pressure to ensure the tube is securely in place and functioning correctly.
Safety Considerations When Switching Pumping Tubes
Since handling pumping tubes involves heavy equipment, high-pressure systems, and moving parts, follow these safety precautions:
1. Wear Protective Gear: Gloves, goggles, and sturdy boots help prevent injuries.
2. Ensure Stable Ground Positioning: The mobile concrete pump should be on stable ground to avoid accidental movement during tube replacement.
3. Avoid Standing in the Tube Path: If pressure is accidentally applied, the tube could move forcefully, causing injuries.
4. Use Proper Lifting Techniques: Pumping tubes can be heavy; use team lifting or mechanical assistance to avoid strain injuries.
5. Secure Clamps Properly: Loose clamps can lead to leaks or detachment, resulting in hazardous work conditions.
Maintenance Tips for Prolonging Pumping Tube Lifespan
Regular maintenance helps minimize the frequency of tube replacements and improves the overall efficiency of your mobile concrete pump:
1. Clean Tubes After Every Use
Flush the tubes with water or an appropriate cleaning solution after each operation to prevent residual concrete buildup.
2. Inspect Tubes Regularly
Check for cracks, internal wear, and blockages before and after each project.
3. Rotate Tubes Periodically
If you use multiple pumping tubes, rotate them to distribute wear evenly and extend their lifespan.
4. Store Tubes Properly
Keep spare tubes in a dry, temperature-controlled area to prevent premature degradation.
5. Use the Right Tube for the Job
Select pumping tubes based on the type of concrete mix and site requirements to avoid excessive strain on the equipment.
Switching the pumping tubes on a mobile concrete pump is a necessary process that ensures continued performance and efficiency on construction sites. By following proper preparation steps, removing and installing tubes correctly, and adhering to safety guidelines, operators can minimize downtime and prevent damage to the pump system. Additionally, regular maintenance of pumping tubes will help prolong their lifespan, reduce operating costs, and improve overall productivity.
By mastering the process of switching pumping tubes, construction professionals can maintain smooth concrete pumping operations, ensuring reliable delivery of concrete to the required locations with minimal disruption.
